It’s been pouring rain here the past couple of days, which gives me the perfect opportunity to tell you all about our latest project.
We’re building a fence!
I know – that doesn’t sound like much, but for us it marks a milestone. It’s the first major project that we’ve undertaken ourselves, as opposed to hiring a contractor. We came out here to “homestead,” after all, and if every book I’ve seen out there on the subject is to be believed, homesteaders rarely, if ever, hire professionals. In fact, hardly a week goes by without those people building a root cellar, digging a duck pond or putting up some kind of yurt. By themselves. The least we can do is build a fence, right?

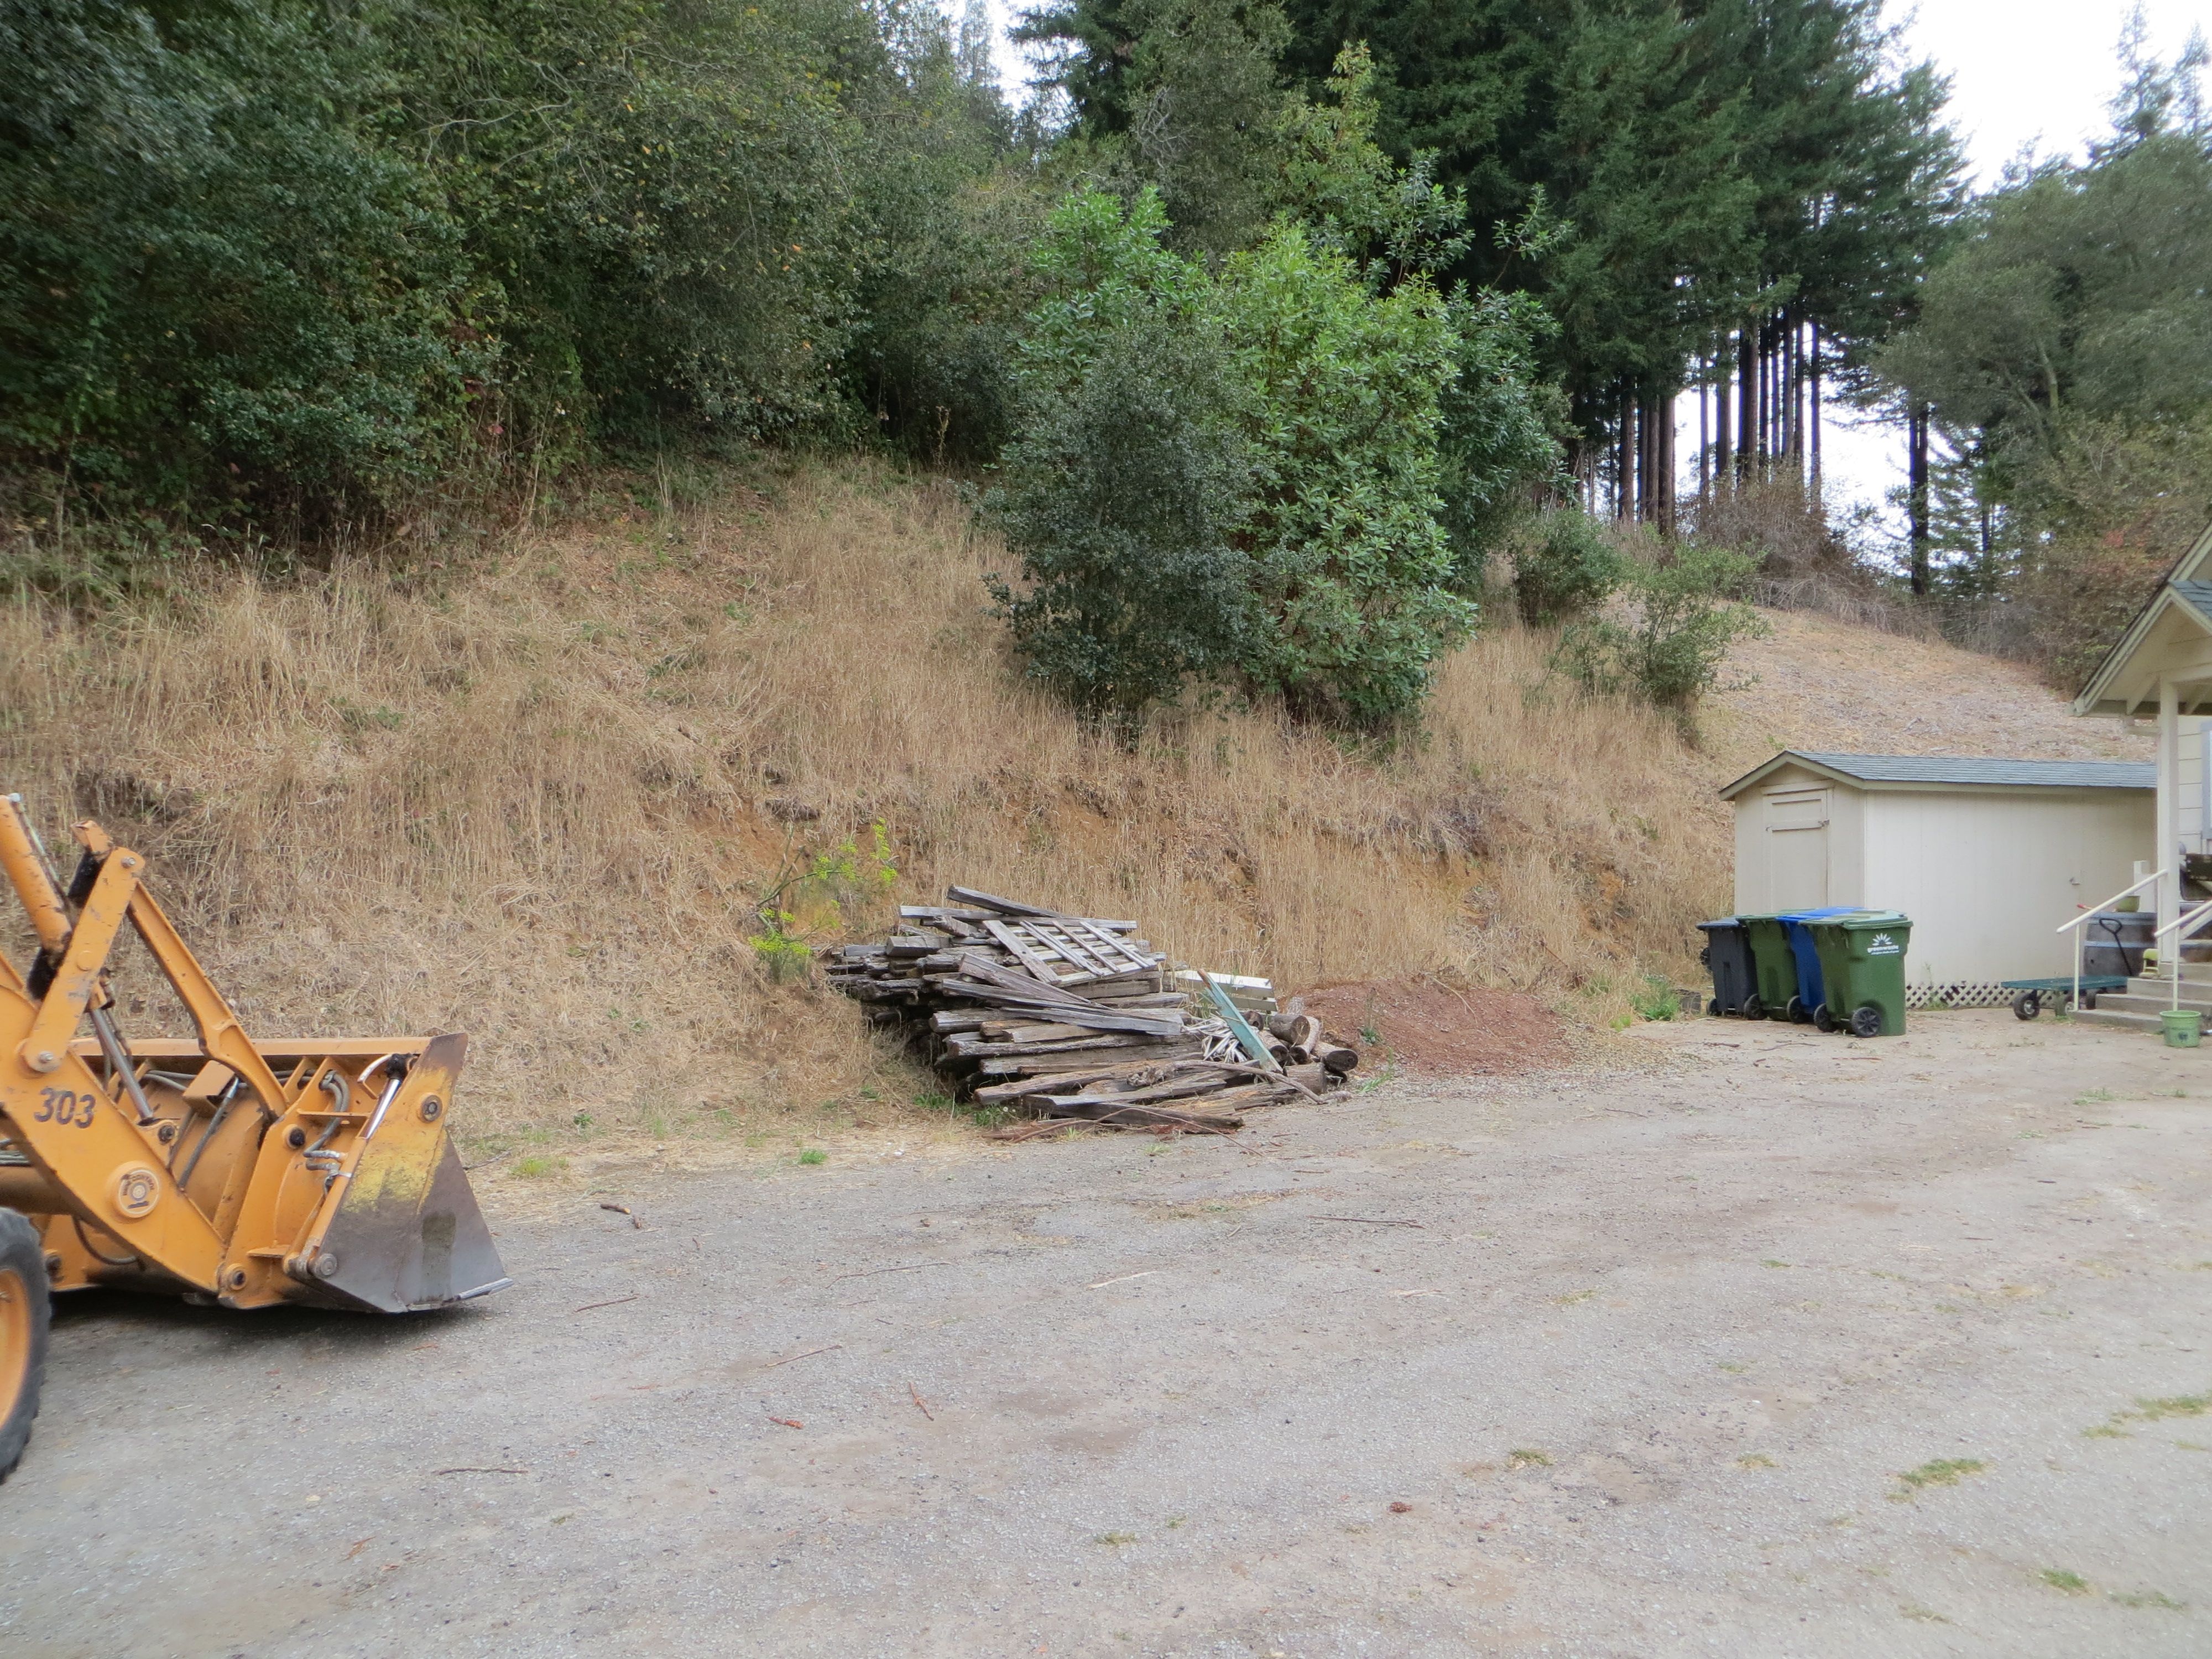
The area we’re fencing is quite large (about a third-acre), and needs to be sturdy in order to keep out deer and any other large animals (this will be our vegetable garden). That means 4×4 pressure-treated uprights, cemented into the ground. Gates will have to be built, and deer-proof fencing material attached.

First Lizzy tilled the ground. Then we flagged off the area, spacing most of the uprights at eight feet apart and allowing for one wide gate and two small. We came up with fifty-eight holes to be augured.
I ordered the lumber and cement at the local builder’s store. The lumber was easy – fifty-six ten-foot 4x4s, two twelve foot 4x6s (for the main entrance), and a couple extra for good measure. The concrete, though, was a different story. Having never mixed cement before I was thinking, what – one bag per hole? Maybe two? Doesn’t that seem like a lot? Should I order the eighty pound bags, or the sixty?
Grudgingly, I ordered a hundred and twenty bags of concrete mix. At eighty lbs. each, that’s a lot of cement. I figured we’d have some left over, but what the heck – we’re bound to use it some day.
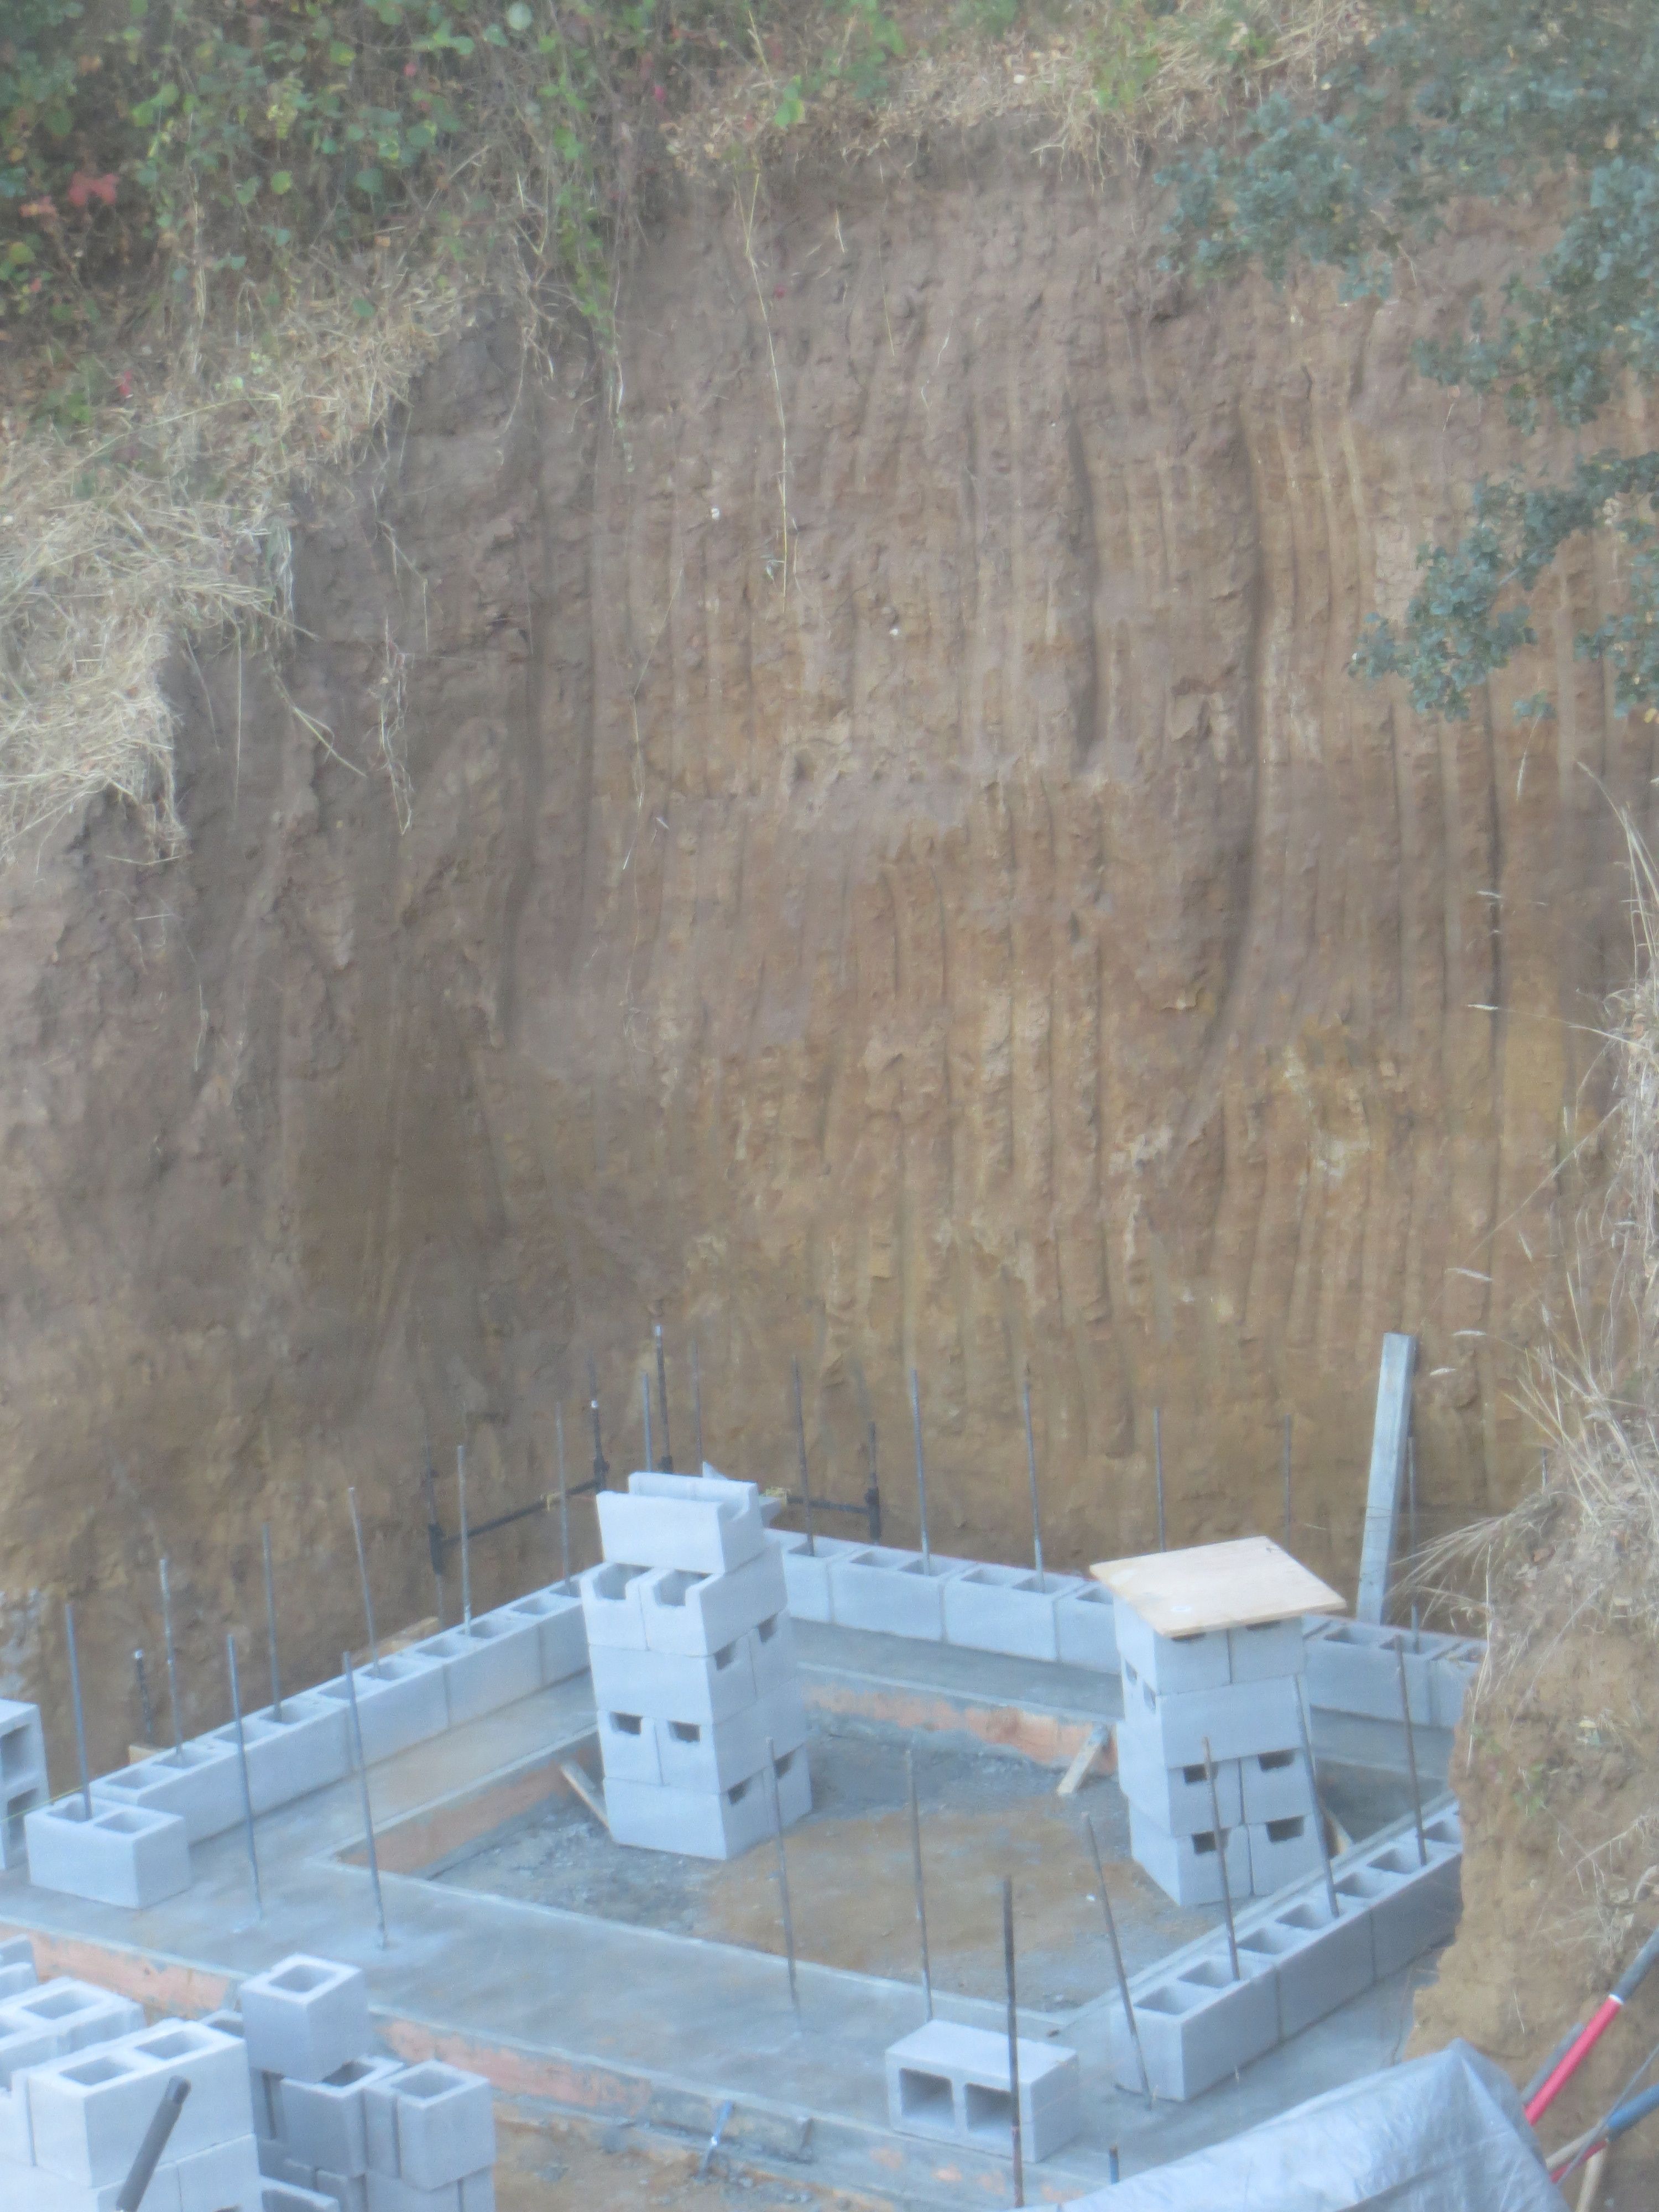
It was time to start auguring. We drilled to a depth of about two feet, allowing for five inches or so of gravel at the bottom. The augur is 12-inch in diameter, more than enough space to secure a 4×4.

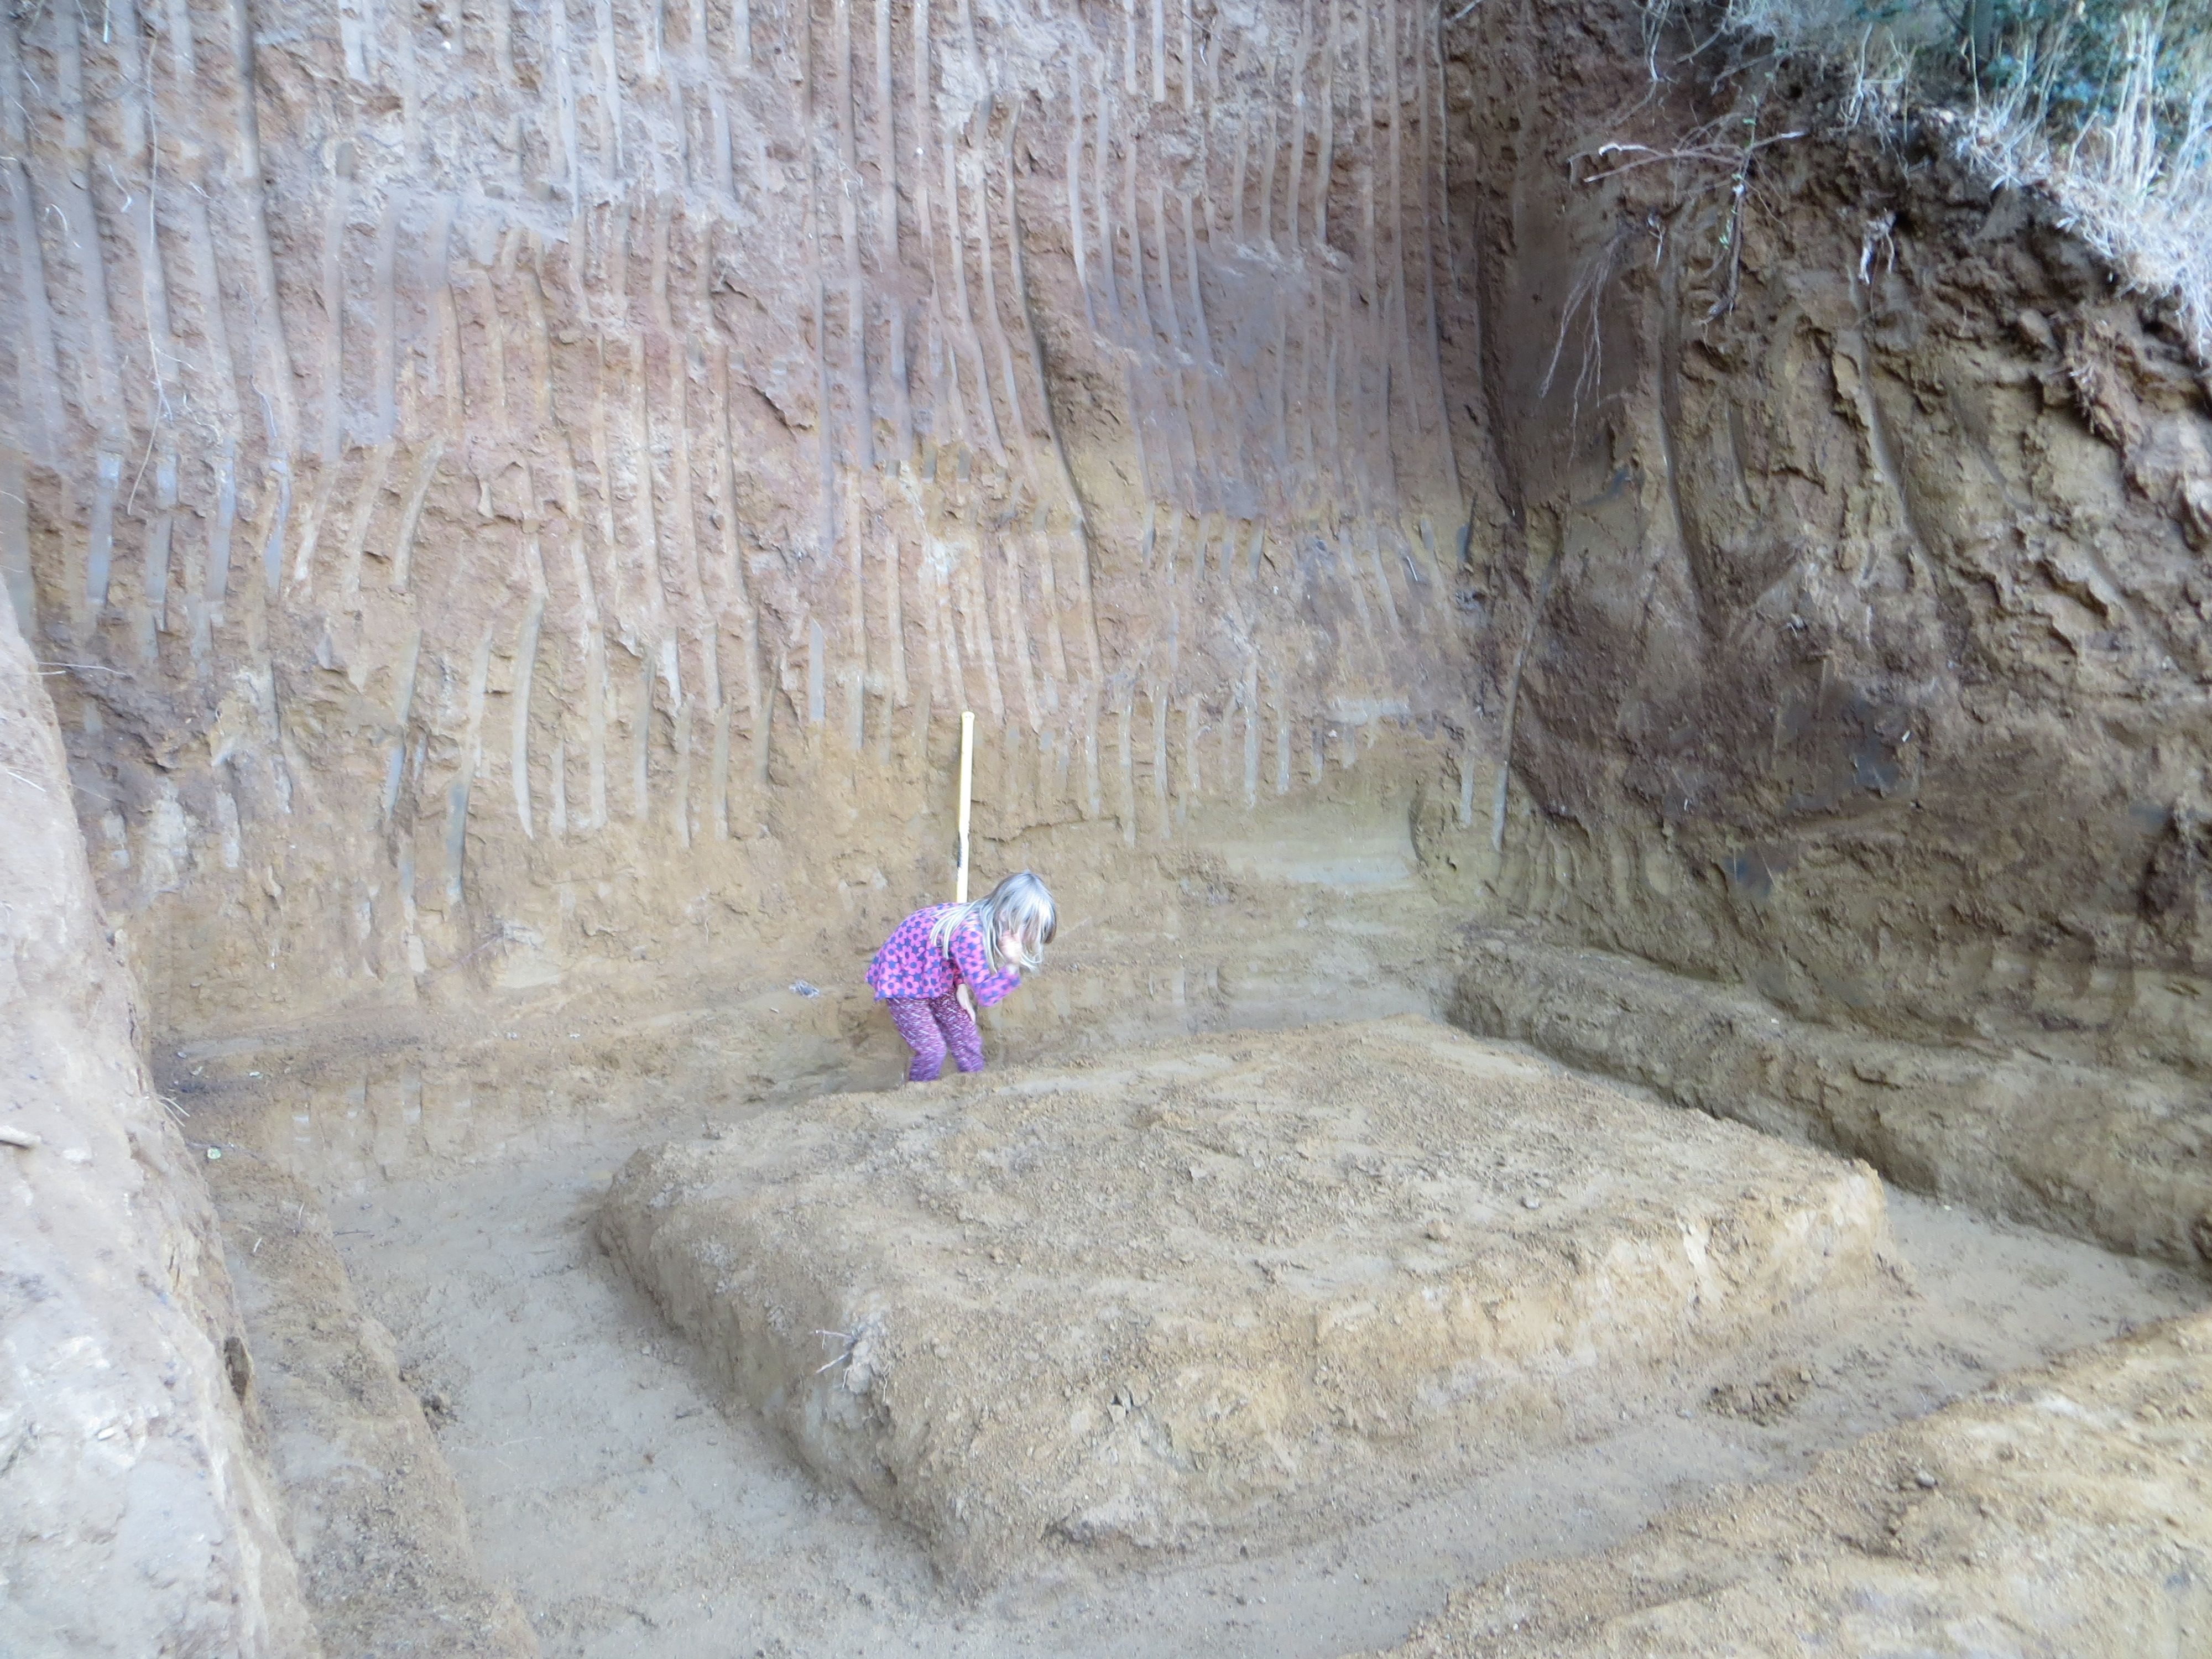
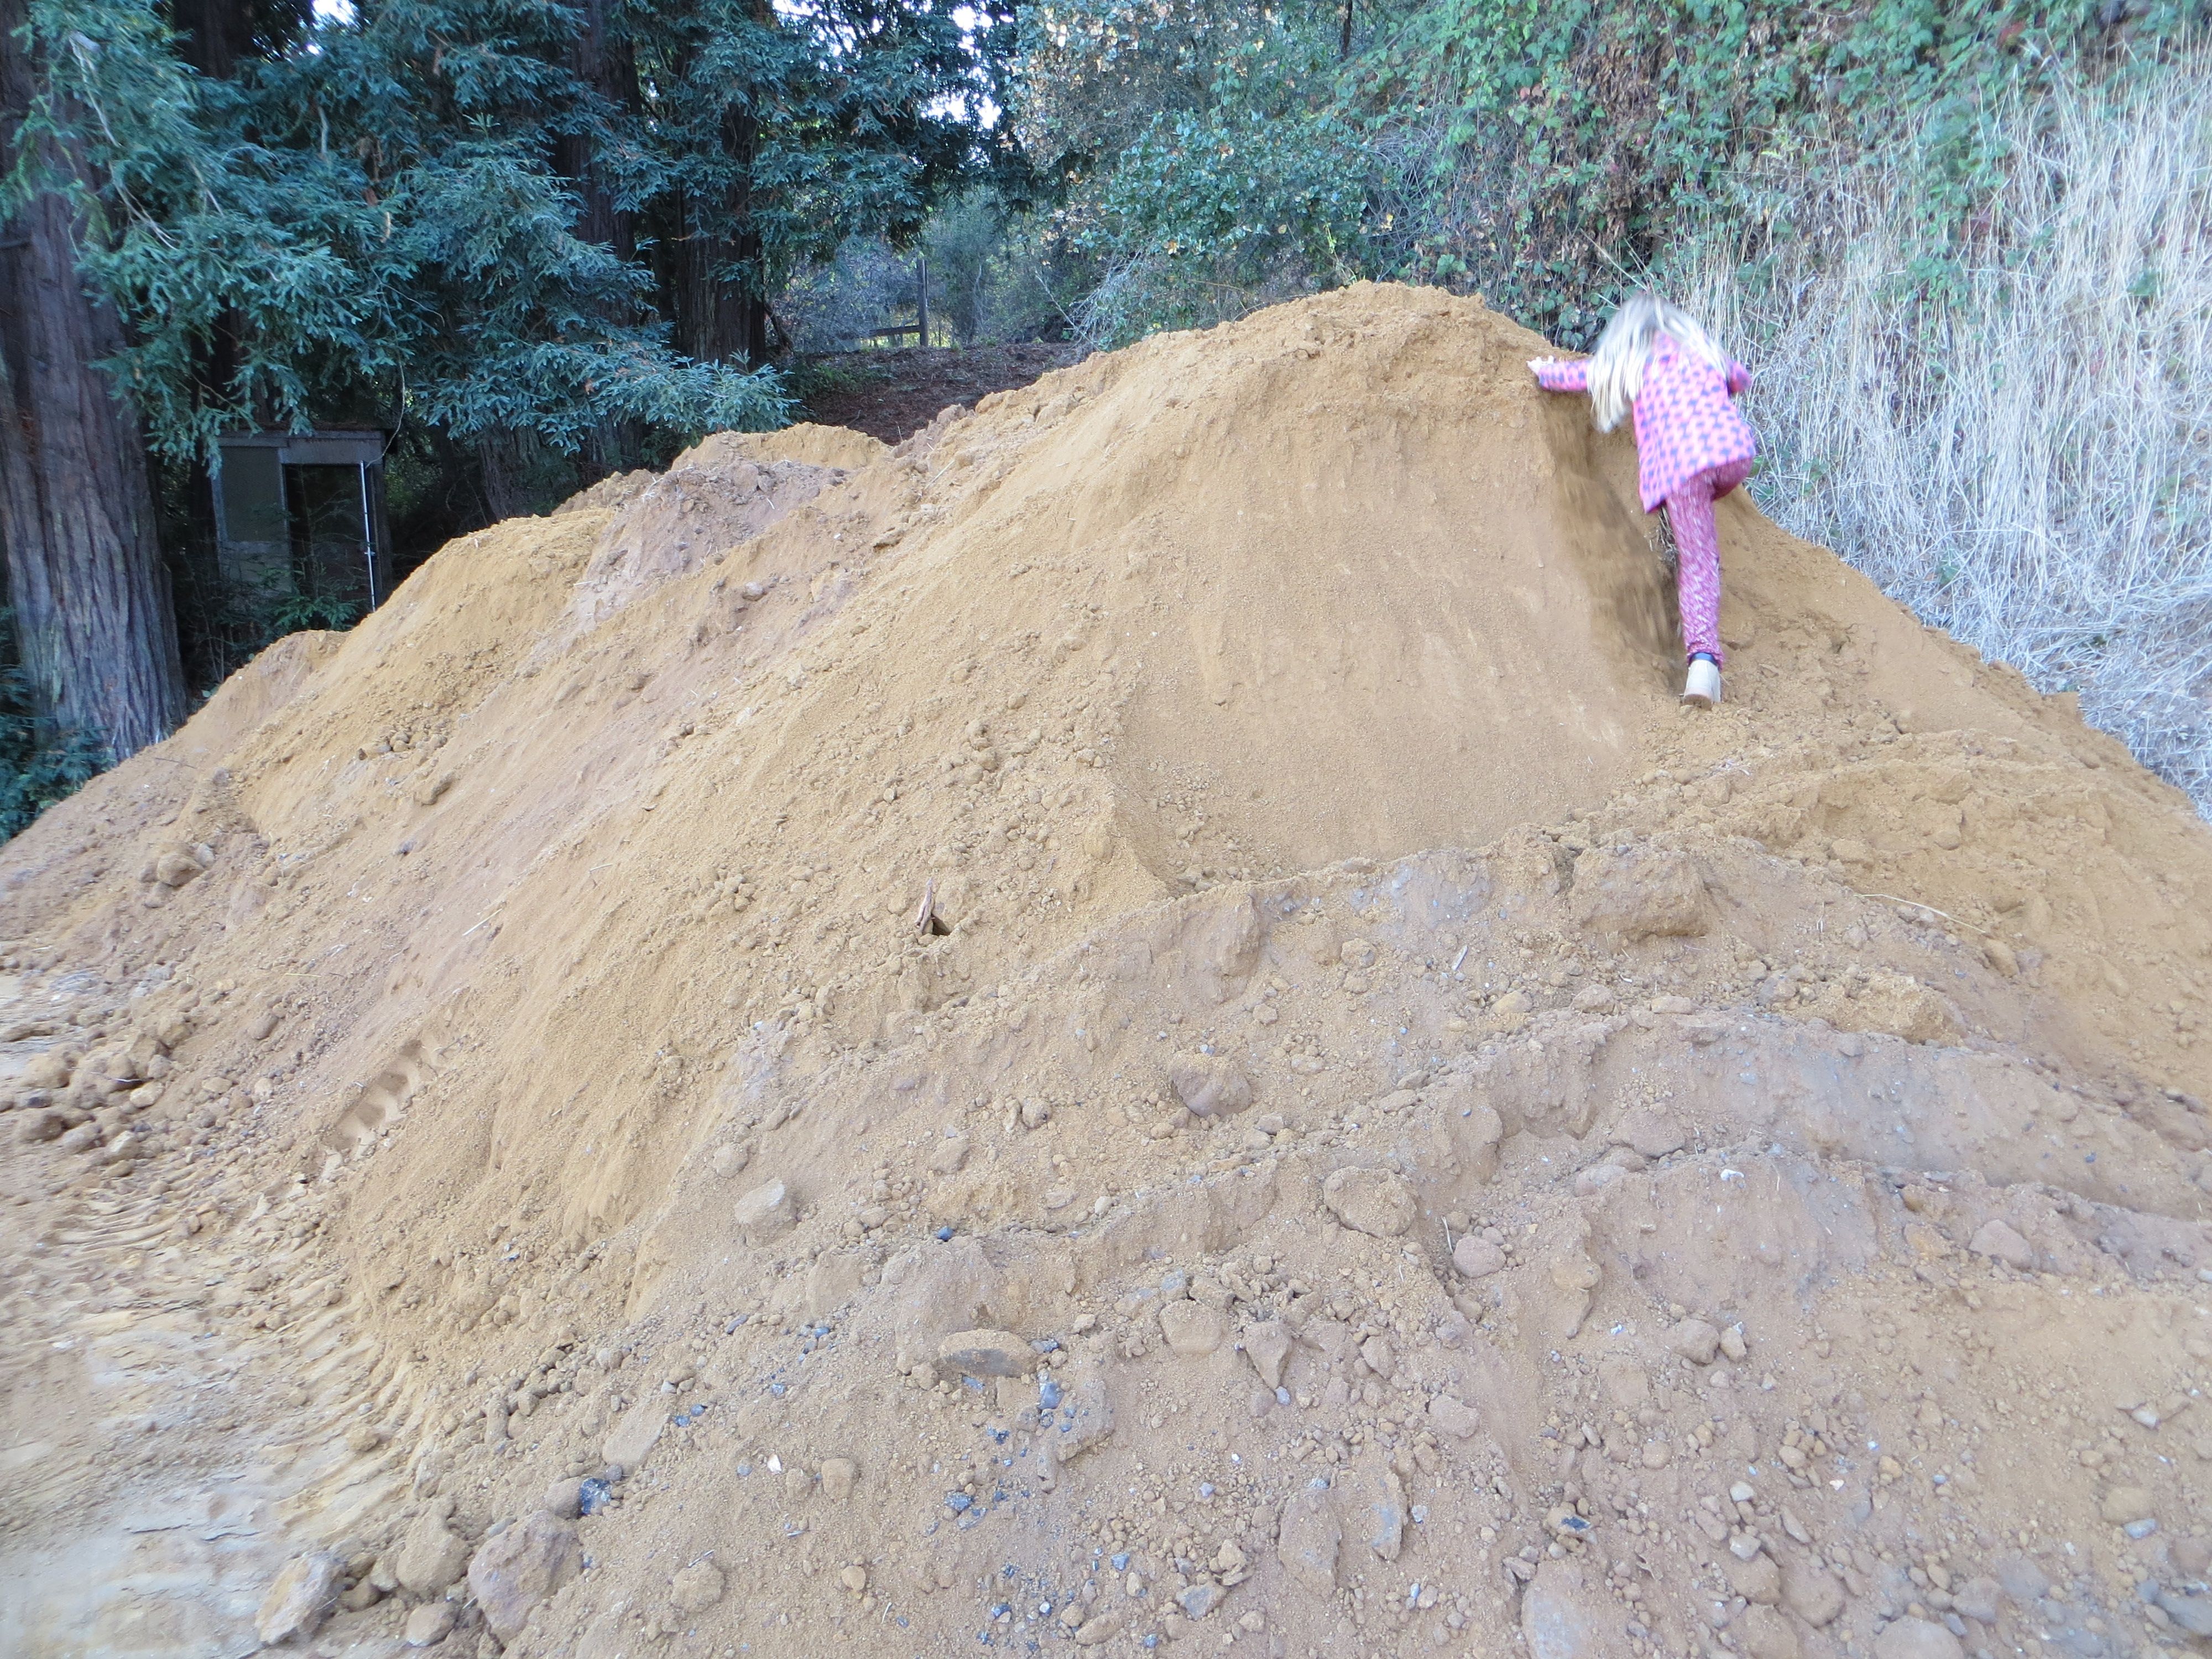
Before we could start setting the posts each hole had to be prepped. Prepping wasn’t easy, as it entailed cleaning out all the excess dirt from around the rim of the hole, as well as the stuff that never made it out with the initial auguring. Then, in went the gravel (the gravel, at least, was free – we removed it from the back yard as part of another landscaping project to be blogged about later). Once the gravel was in, there was eighteen or nineteen inches left for the concrete.

The smart thing would have been to complete each stage in its entirety before moving on to the next, but that wasn’t how things turned out. We prepped a handful of holes (which is a lot of physical labor in itself), and then started on the posts, which ensured that the job would be s tretched out over several days. Unfortunately that left the bulk of the holes to be prepped later, which in our case was after it had happened to rain. And let me just say that if you’ve never had to scoop out several inches of dense, sticky, clay-like mud from over two-dozen holes in the rain then trust me – it’s nothing to write home about.
We were so very lucky to have our neighbors Andy and Dianne lend us both their cement mixer and, for much of the job, Andy himself. He wound up being on board for close to half the posts, and without him I might very well be in a body cast.
I’m not lying when I say the amount of labor that went into this process was more than I had counted on. First the cement mixer had to be physically rolled into place each day over bumpy ground (our truck has no ball-hitch). Then the cement, which was staged at one corner of area, had to be loaded into either the truck or the tractor and moved to where we were laying posts. Several hoses had to be connected and run from the nearest water source; extension cords, two or three loooong ones, had to be hooked up. All of this took a lot of trudging and lugging – two things I’ve never been very good at. On the plus side, though, I did find that I excelled at sweating and grunting.
One the mixer was up and running I had to tear open the bags and somehow manage to get the contents poured into the spinning mixer without covering myself with, and inhaling, half of the bag. Then I’d give it a healthy dose of water from the hose, then another bag, then more water – you get the picture. Once the desired consistency was achieved I dumped the wet cement into a wheel barrel, which I then had to navigate over rough terrain several yards to the hole without losing my balance or hitting a divot in the ground and spilling half the stuff.

There awaited Lizzy, holding the post in place. She had to manage to keep the darned thing level while I shoveled the cement into the hole.
Anyway, I was exhausted, soaking wet, covered in cement, and bleeding – yes, bleeding – by the time we were finished.
With the first post.
And yes – that single hole required three bags of cement. That’s around two hundred pounds of concrete and a couple gallons of water.
So I ordered more cement. All told, we went through about two hundred and twenty bags of the stuff, though I have to admit I opted for the sixty-pound bags, rather than eighty, for the subsequent orders. Trust me – you’d have done the same.

We found that we could work only a couple of hours a day before our own physical limitations forced us to give up. That added up to about fifteen posts a day, if we were lucky.

But somehow we pulled it off, and just in time – the rain we’re getting now forced us to finish the final seventeen posts in an hour and a half, without our neighbor Andy’s help, this past Monday.
And if you don’t believe that this was hard work, just listen to Sarah:
I’m only half-way through building the large gate doors, and we haven’t even begun to attach the fencing material, so expect more later. Until then, I’ll be in bed recovering.
-Jason


 Jason with one frame of capped honey.
 Uncapping with the special knife
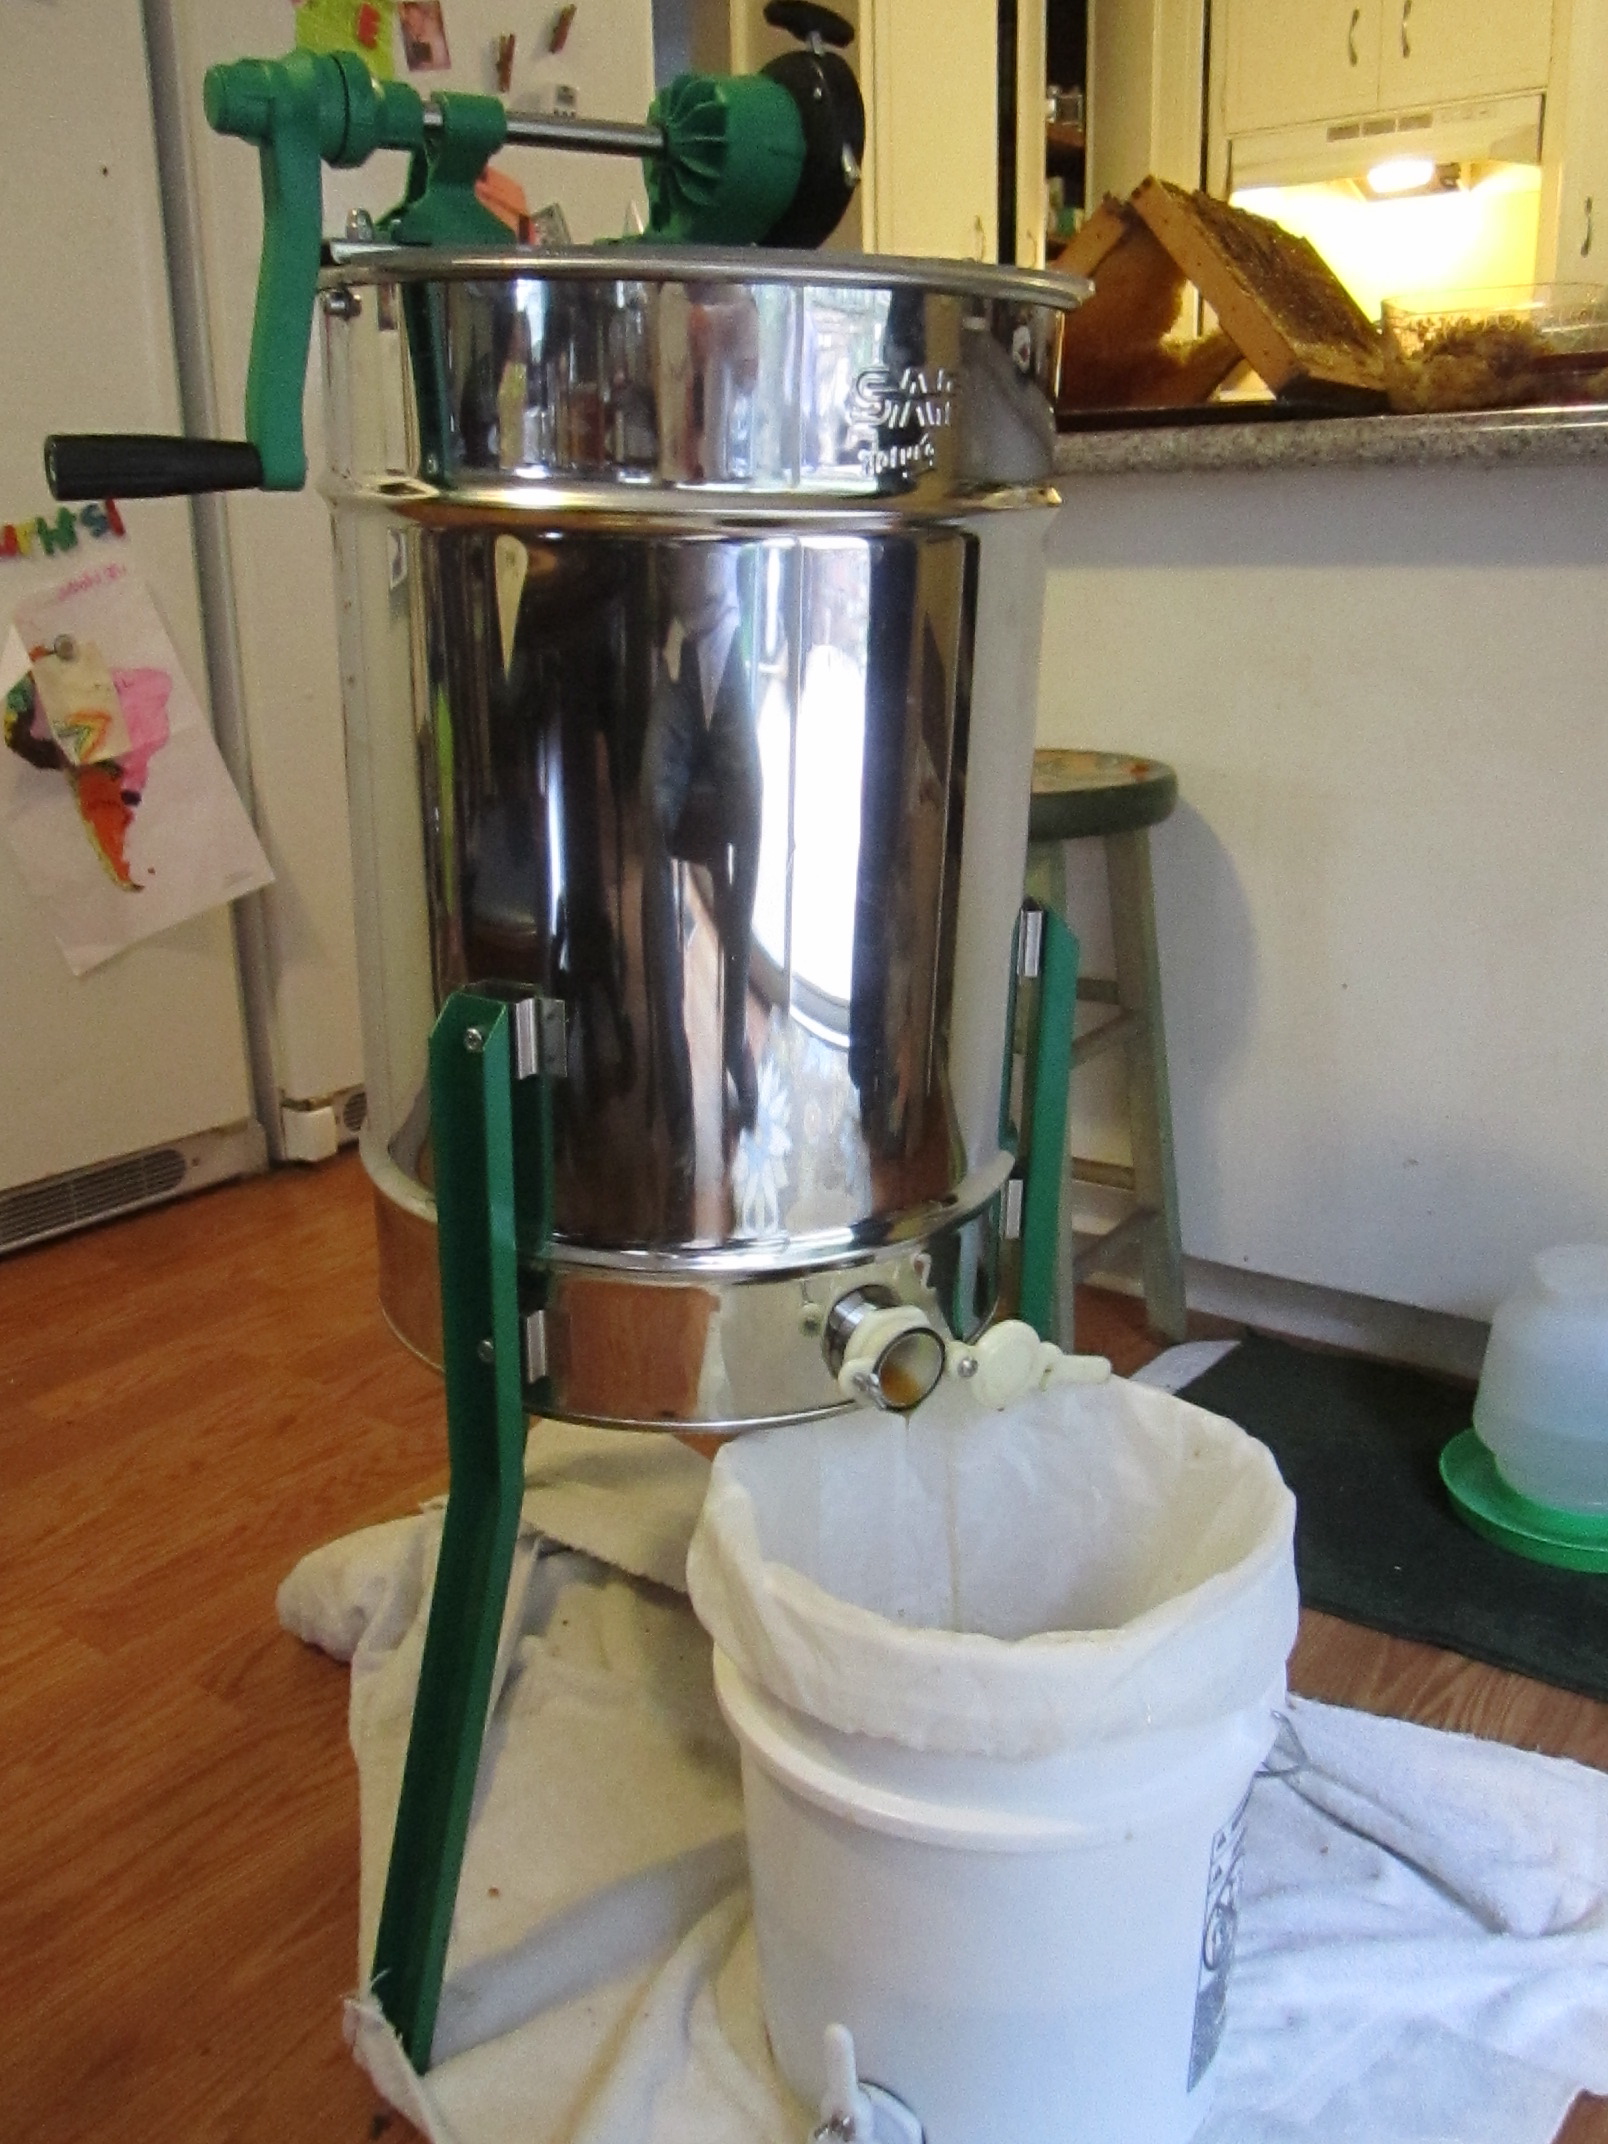 The rented extractor, which spins the honey out.
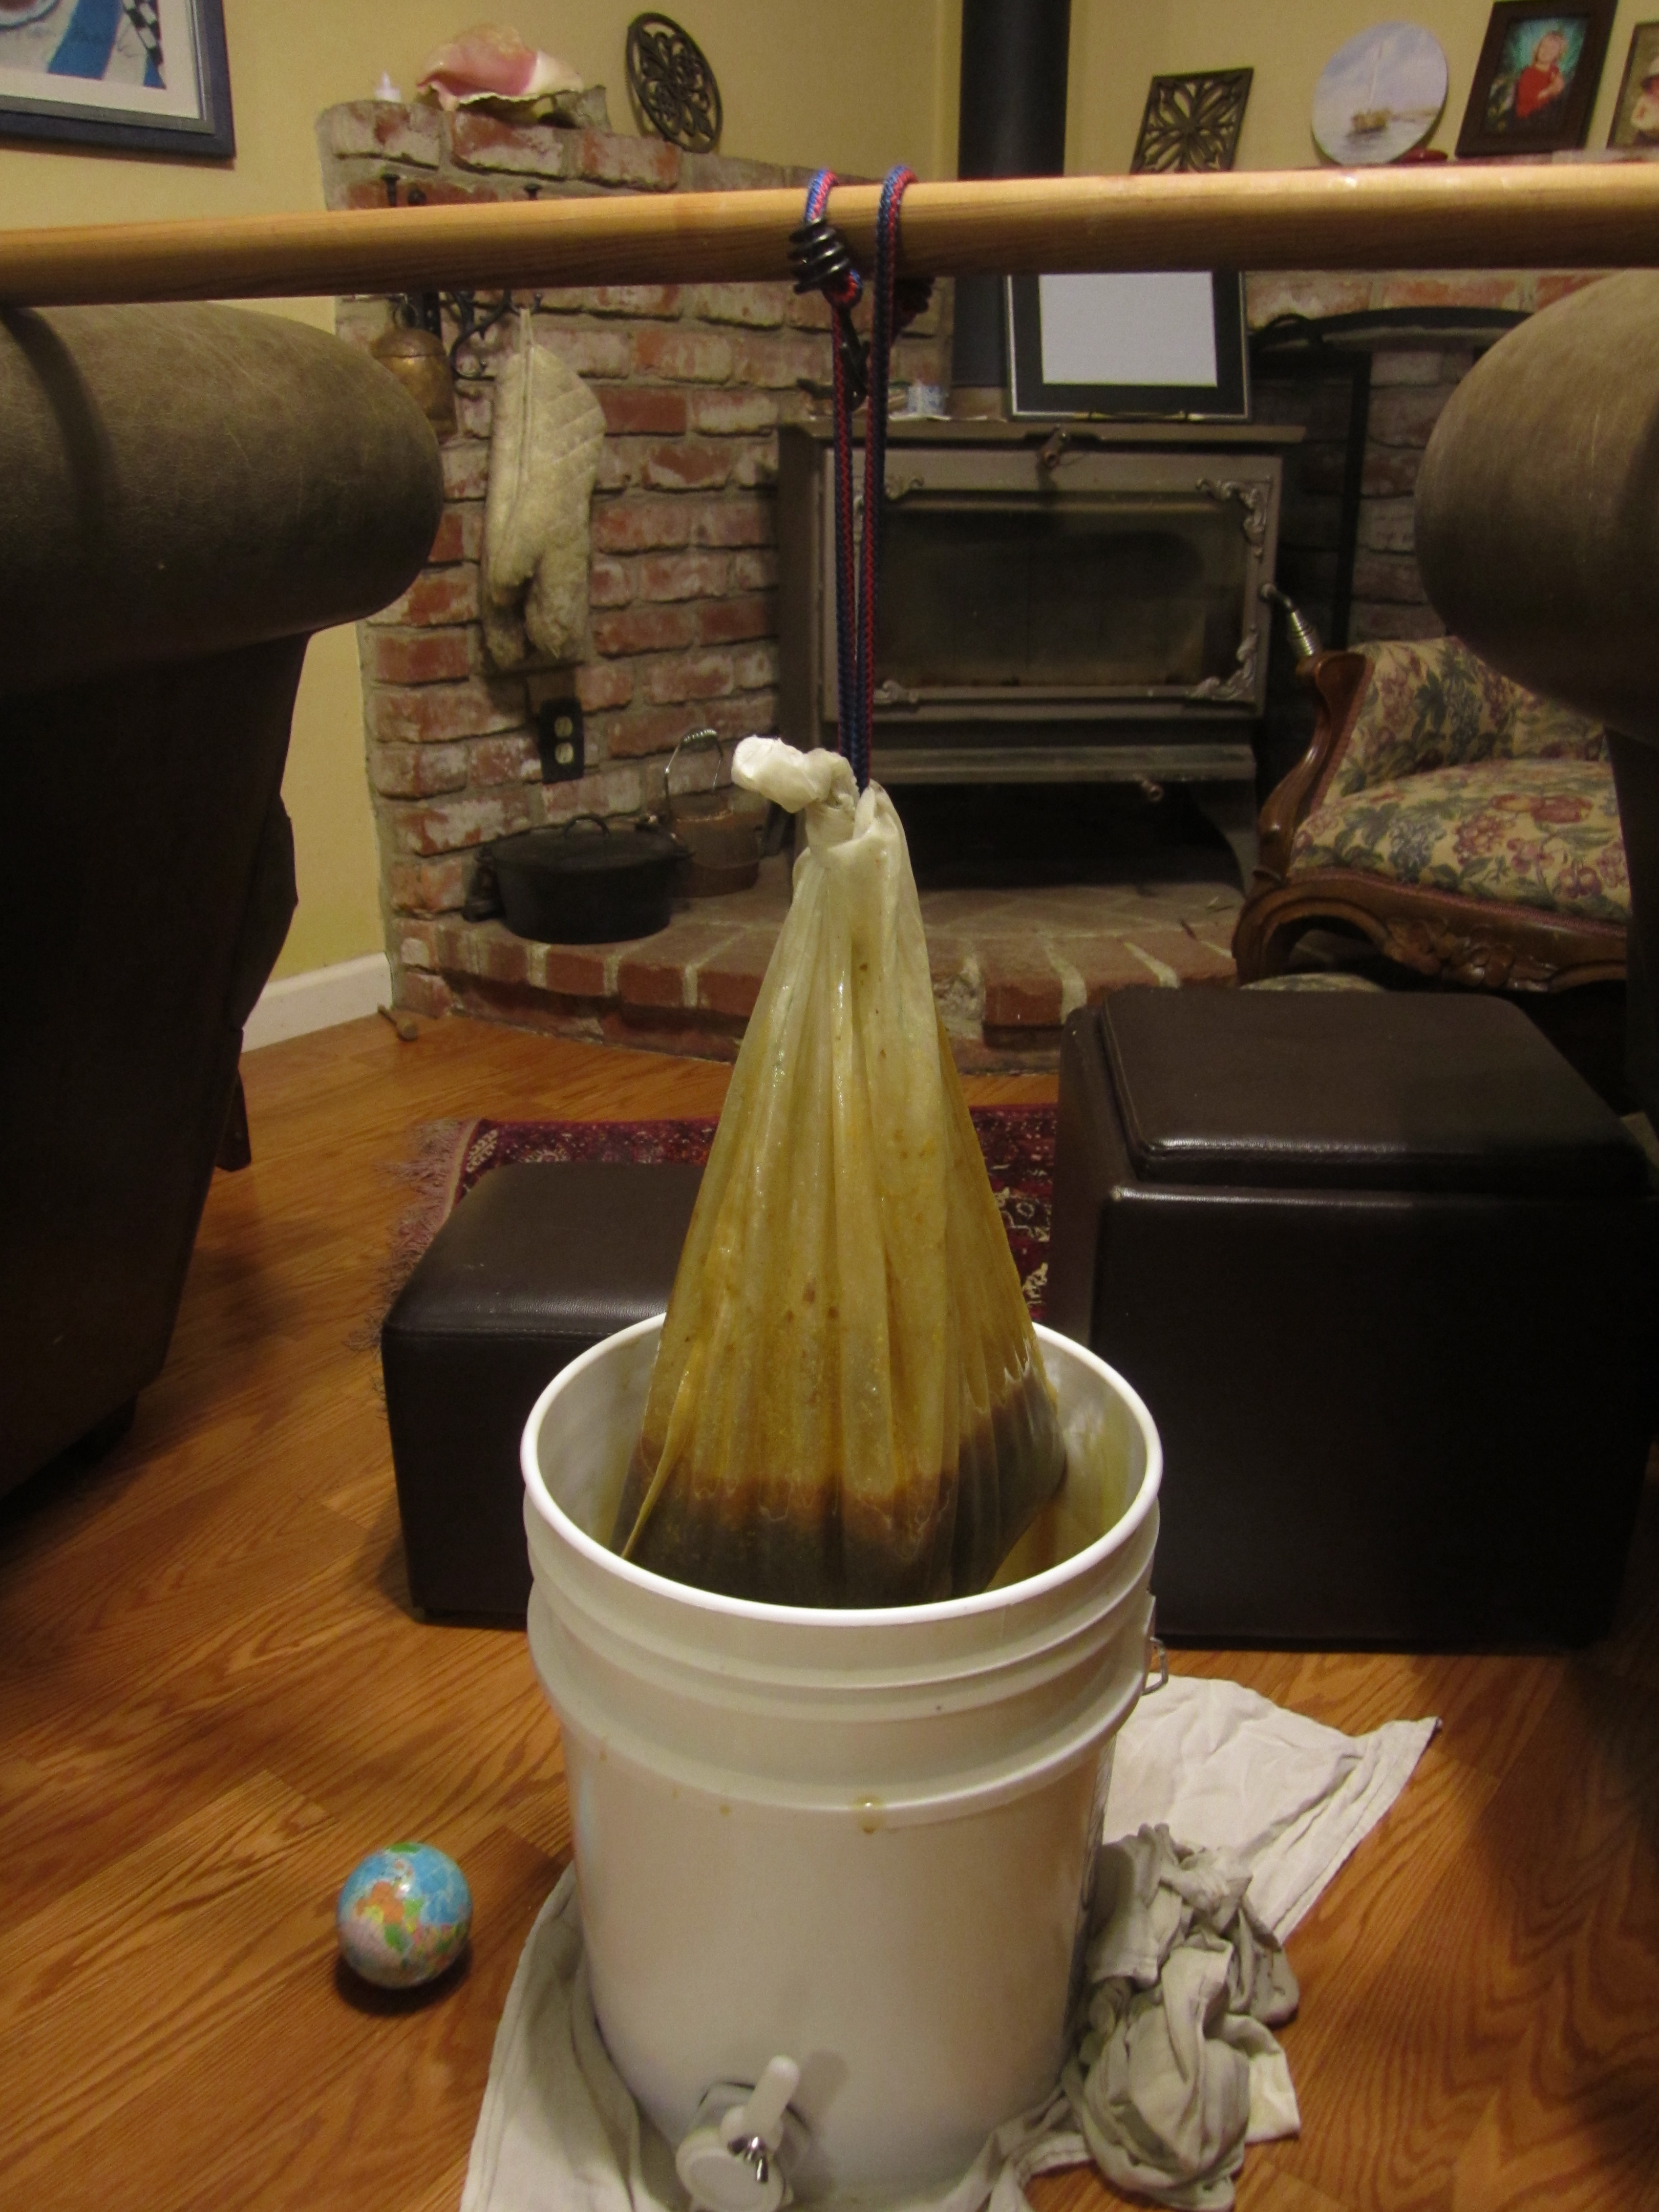 Then we filter the honey through this fine mesh bag.
 Pour it out into jars
 And admire it!
 It came out dark and complex, but with no bitterness. Super sweet and delicious!